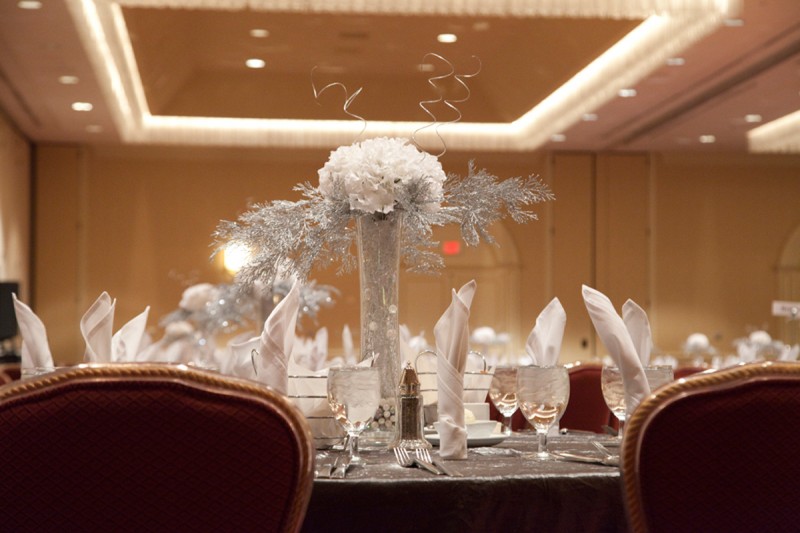
I had the pleasure of photographing Chenega’s holiday party this year. It was a fun event with formal portraits, prizes, dancing and caricature’s of the guests! I created a vintage style snowflake background for Chenega’s portrait booth to fit with their winter party theme. It was a hit. See how to make it below.
Create your own snowflake background
1. Choose a neutral backdrop. I chose a medium gray tone for my background so the beautiful formal wear and people’s faces would stand out in the portraits.
2. Gather supplies for your snowflakes:
fish weights, white twine, glue, white paper, scissors, clear tape, background stands and crossbar.
3. Tie your twine to a background stand’s crossbar. Cut the twine at the length you prefer. (I think having uneven lengths is nice for some variety.)
4. Tie a fish weight to the bottom of the each strand of twine.
5. Cut out a variety of snowflakes, all shapes and sizes.
6. Tape each snowflake to the twine, trying not to have the tape show on the front of the snowflake.
7. When you reach the bottom of your twine, where the fish weight is, attach two snowflakes of the same size and shape (one on the front and one on the back) to hide the weight.
8. Now you are ready to take a test photo. Move the snowflakes closer and farther away from your backdrop until you achieve your desired look. I had my snowflakes about two feet from the gray background because I wanted the shadows cast by the snowflakes to add depth to the photos.
Have fun!


